| Gameplay tactics, trivia and walkthrough information should not be included, unless they are related to the plot; instead add it to its respective chapter article. |
| You are welcome to assist in its construction by editing it as well. However, do not make major changes before consulting the community, since the related editors probably set up guidelines for the page construction. |
| You can help by correcting spelling and grammar, removing factual errors, rewriting sections to ensure they are clear and concise, and moving some elements when appropriate. Visit our Cleanup Project for more details and, please, notify the administrators before removing this template. |
This article describes the Half-Life 2: Episode One storyline, chapter by chapter.
In Half-Life 2, the game ends with the mysterious G-Man putting Gordon Freeman back into stasis after he kills Wallace Breen and destroys the dark fusion reactor.
Chapter 1: Undue Alarm[]

Following the events of Half-Life 2, Episode One starts out with Gordon seeing a reality altered by the Vortigaunts’ influence, who went back in time and rewound the final events of Half-Life 2 to just before the G-Man has his way[1][2]. As time stops, several purple glowing Vortigaunts appear and rescue Alyx Vance, via teleportation; The G-Man is then seen walking through the door made of light toward Gordon Freeman. As he opens his mouth to say something, he is distracted by blue lights, and is separated from Gordon by another group of Vortigaunts; several of them surround him, blocking him off from Gordon via the usage of a blue energy shield. Obviously angered, he straightens his tie and looks at Gordon while saying in an irritated tone: "We'll see...about that." More Vortigaunts then surround and teleport Gordon in the same manner as Alyx; both of them are now removed from stasis.
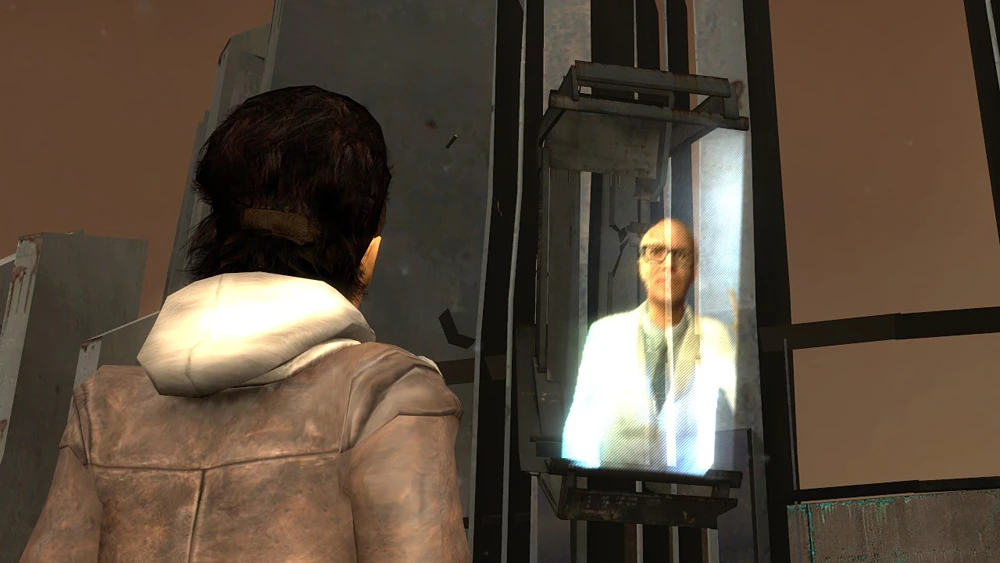
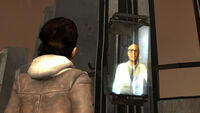
Gordon wakes up outside the Citadel, buried under a pile of rubble. The destruction of the Dark Fusion Reactor has caused a fire to break out at the top of the Citadel and a portal is beginning to form. Dog digs Gordon out, and he is reunited with Alyx, who embraces him. Dog then gives Gordon his Gravity Gun. Alyx contacts her father Eli and Dr. Kleiner through a portable monitor, to inform them that Gordon is safe (Eli earlier told Alyx that Gordon wouldn't be found, implying his knowledge of the G-Man and his stasis). Kleiner tells Alyx that the Citadel Core is at risk of exploding at any moment, and that the explosion could be large enough to level the whole of City 17; furthermore, the only possible way to survive would be to re-enter the Citadel and slow the core's progression toward meltdown. Eli interrupts, showing distress at placing his daughter in further danger, but reluctantly agrees when he sees no other option. Alyx and Gordon re-enter the Citadel in an attempt to reactivate the stabilization mechanism for the core, in order to avert disaster. Dog throws a van that has the duo in it and it lands in the Citadel.
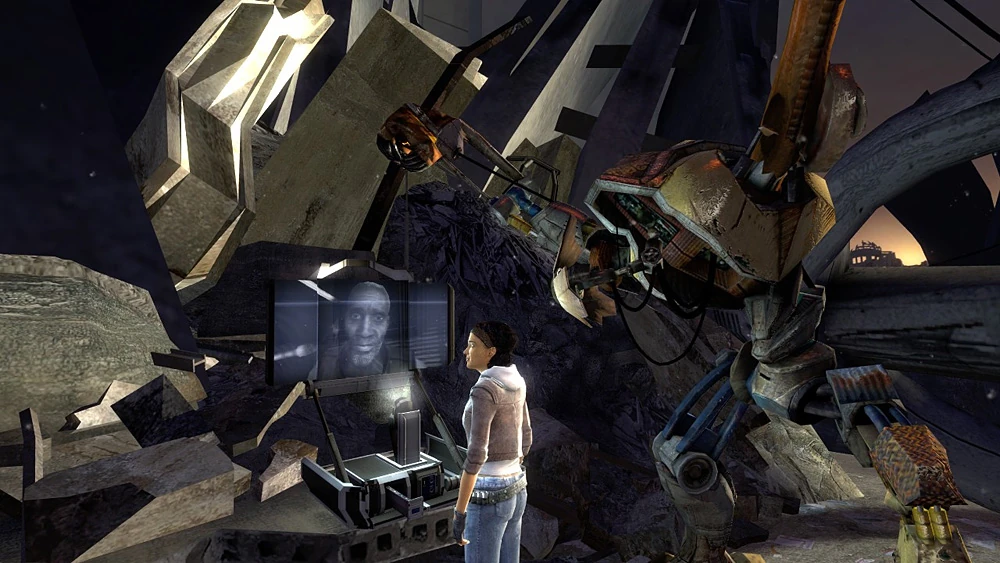
During their time in the Citadel, they discover a recording of the discussion between a Combine Advisor and Dr. Breen before Gordon chased him down in Half-Life 2. Breen reprises his words from the game, and Alyx momentarily believes that he is still alive, before checking the recording time, and realizing that it is from the past. The recording ends, interrupted by a brief image of a Combine Advisor. Alyx and Gordon are then subject to psychic blasts as an Advisor Pod is transported through a tube in the control room. Gordon walks into a Confiscation Field that supercharges his Gravity Gun, before he and Alyx proceed down a glass elevator to the Citadel Core.
Trivia[]
- This is the first game in the Half-Life series[3] which does not begin in a moving vehicle.
Chapter 2: Direct Intervention[]

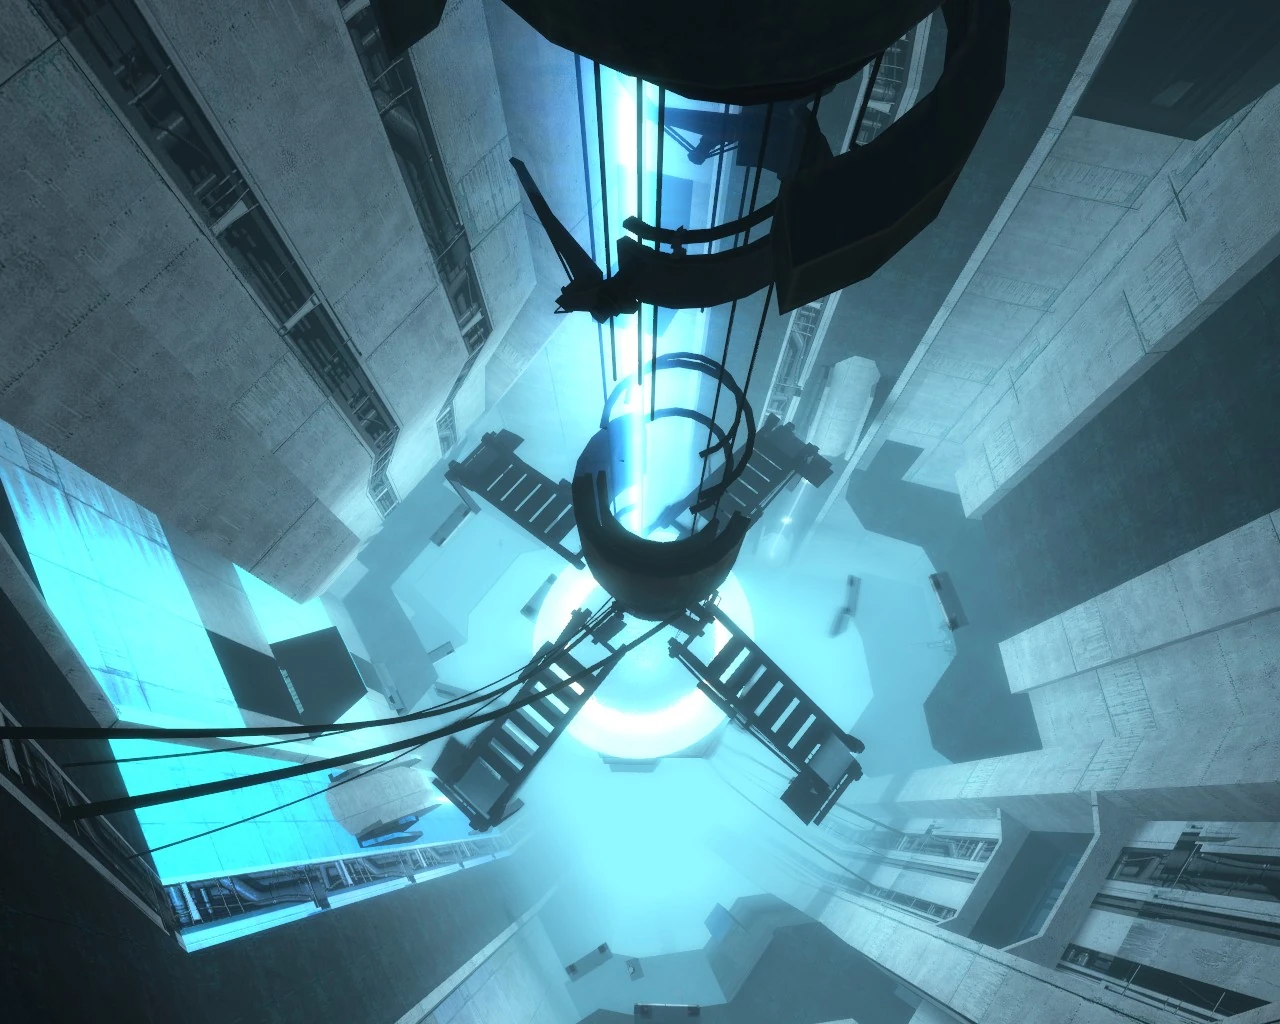
Drop-down view of the Citadel Core.
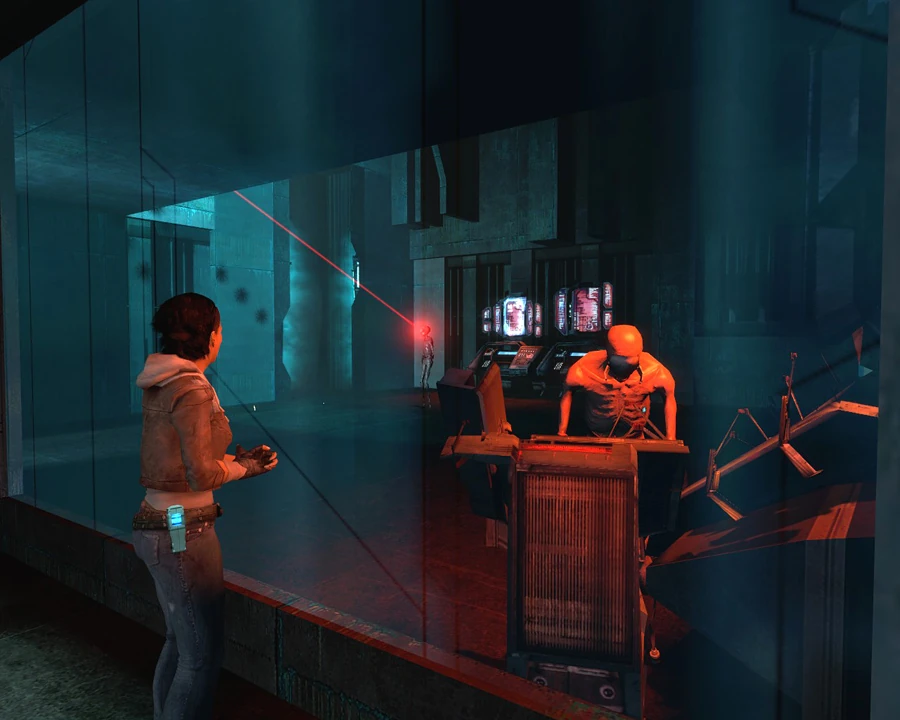
Stalkers preventing Alyx and Gordon from proceeding through the Citadel.
This chapter consists of Gordon Freeman entering the core to help slow down the meltdown. Afterwards, they make their way to one of the still running Razor Trains and begin their journey to escape the city.
After Gordon uses Energy Balls to power three stations and kills a few Stalkers, he and Alyx are successful in re-engaging the reactor's containment system, delaying the explosion. Alyx subsequently discovers that the Combine are trying to use the reaction to send a message to off-world Combine forces; this will also result in the destruction of the Citadel. There is a message from Judith Mossman, based in an arctic environment north from City 17. She talks about a Project which she and her team had discovered, but the Combine attacks the base and she has to cut the transmission. She is able to run away, presumably to safety, before Combine troops, and an unknown enemy invade the area that she had been filming in. Alyx makes a copy of the message packet to take to Dr. Kleiner and Eli, ensuring that the Combine make them their prime target, and, even in their disorganized state, use everything they have to stop them.
Alyx and Gordon then board a Razor Train to escape the Citadel. It becomes apparent that the carriage they are in was being used to transport Stalkers. Alyx mourns for them, but is interrupted by the train derailing, causing the creatures to awaken.
Trivia[]
- Rarely, during Judith Mossman's recorded message, one of the Resistance members in the base may say, "Doctor Freeman? I'm coming with you!", or some other Rebel 'Greeting'.
- The Hunter in Judith's message is actually a different model than the one used in Half-Life 2: Episode Two called
ministrider.mdl.The Ministrider can be spawned in using the commandnpc_create npc_ministrider. There are key differences between the Ministrider and the Hunter. The Ministrider shoots bullets, is immune to guns, and uses a different model. - After stabilizing the core, losing all suit power and the Organic Zero Point Energy Field Manipulator, any HEV Suit chargers that still have energy left will be quickly consumed, and will only give a little energy.
Chapter 3: Lowlife[]
Dead Zombines and two Emitters in a Razor Train.

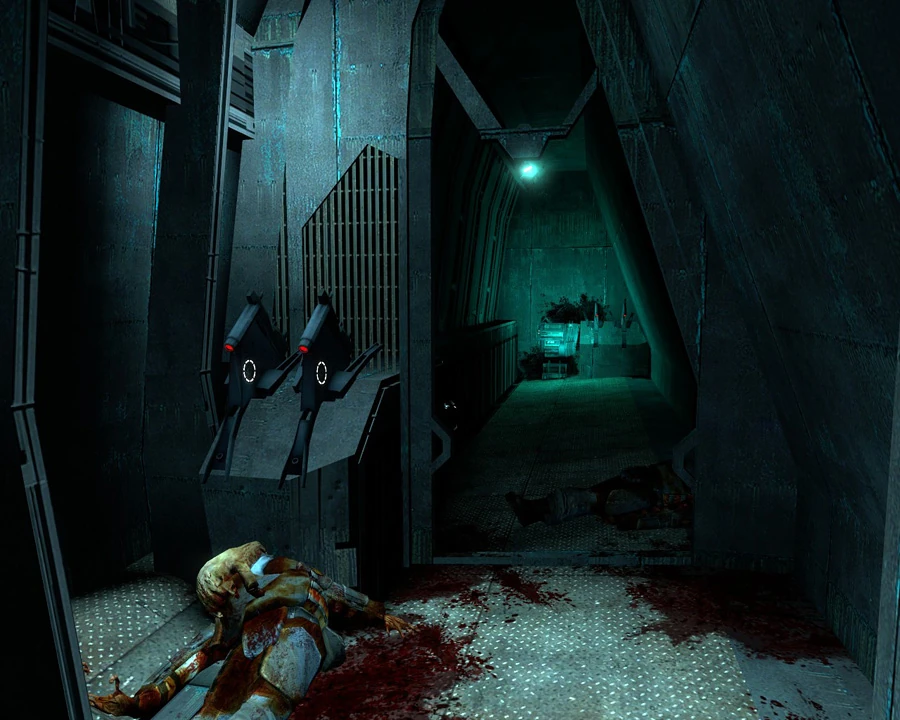
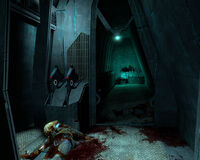
The elevator's empty shaft, before the battle in the dark.
This chapter sees Gordon and Alyx fleeing through the city's ruined, dark, and zombie infested underground as they continue to flee it.
Alyx is trapped under a pod with a restrained Stalker viciously attempting to break loose, relying on Gordon to set her free. After escaping from the train, the duo fights through the rubble of dark, deserted, underground parking garages and tunnels, searching for a way to head up to the surface of the city. In the process, they block off Antlion burrows, and battle various zombies in a pitch black environment, including zombified Combine soldiers, which were never seen during Half-Life 2. These zombified soldiers, referred to as "Zombines" by Alyx, are a prominent sign that the Combine is losing control of City 17.
Trivia[]
- After Alyx opens the first EMP Field Gate, if the player zooms in on her face while standing next to her, she will nervously look away playing with her hair. She will then look up at the player and smile. In the next chapter, Urban Flight, she will do the same thing if the player zooms in on her face after she talks about the Striders, after exiting the Underground. In Half-Life 2: Episode 2, Alyx will do exactly the same thing in the chapter Riding Shotgun, after the player defeats the first Hunters and Alyx opens the Radio Tower Base gate.
- There is a chance, while in the dark, that Alyx will "scare" Gordon by making a zombie sound.
Chapter 4: Urban Flight[]

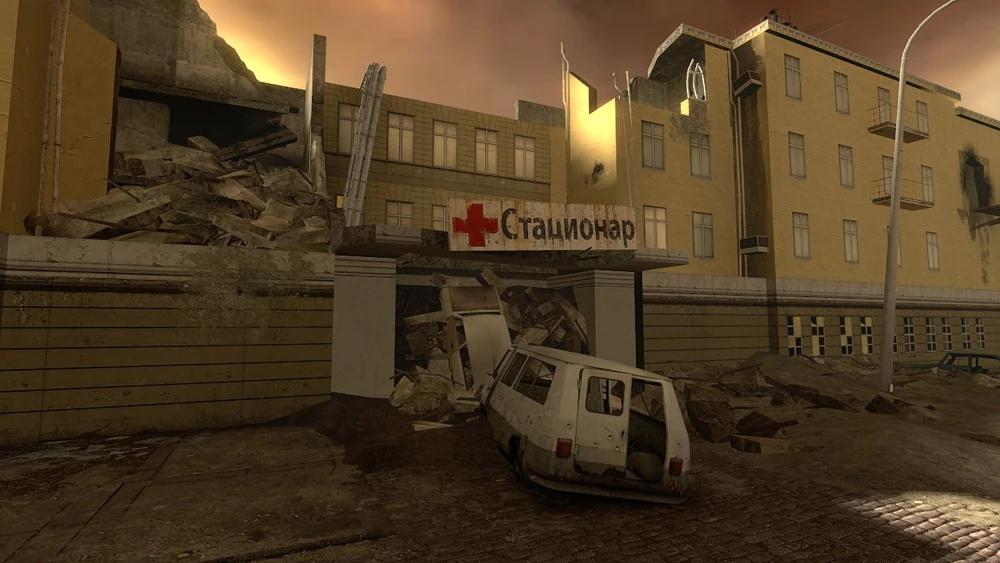
The hospital entrance.
In this lengthy chapter, Gordon and Alyx work their way through the city streets, and a dangerous hospital, before meeting up with Barney to make their way to another train station so they may finally escape.
Eventually, the duo manages to find the exit of an underground train station and they come up to the surface, observing the citadel from afar, and the destruction already visited on City 17. Dr. Kleiner appears on the screens that Breen used to pass out propaganda, mentioning that the Suppression Field, which had previously prevented human reproduction, is down. As the duo moves on, they engage in several fights with Combine soldiers, Antlions, and zombies.
Alyx and Gordon finally meet up with Barney Calhoun and a group of other survivors who are preparing to move on a train station in order to escape City 17. With the Combine still following, Gordon and Alyx split up from the group and move through a derelict hospital to draw the remaining Combine forces away from the refugees. Inside the hospital, Combine forces and zombies of all kinds are fighting throughout the collapsing structure, and hastily constructed defenses to slow Alyx and Gordon down.
Trivia[]
- In the skybox, the player can find out the Citadel is actually a 2D image with 3D effects.
Chapter 5: Exit 17[]

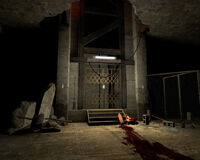
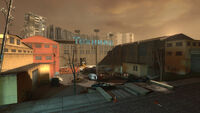
The parking lot at the entrance of the Technical Trainstation.

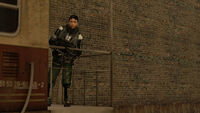
Barney Calhoun leaving the Technical Trainstation to an unknown destination.
In the final chapter, Gordon helps evacuate citizens and rebels and fights a strider blocking the train tracks. The Citadel blows at the end of the chapter, and its shockwave overtakes Alyx and Gordon's train.
Upon reuniting with Barney at the train station, Alyx and Gordon work to move several groups of citizens to the trains while facing increasing Combine opposition. They then decide to stay behind to lure the Combine away from Barney and the citizens as they board the train and make their escape.
After battling Combine soldiers and a Strider, the duo reprogram another train and board the caboose. As the train carries Alyx and Gordon away, the Citadel is visible in the background with the reactor core once again about to explode, and the Combine's message is sent. Several pods similar to the one containing the Combine Advisor in the control room are ejected from the Citadel as it detonates. On two occasions, as pods pass overhead, Gordon and Alyx are hit with psychic blasts. The force of the shockwave from the exploding Citadel causes metal chunks and wreckage to fly toward the train Alyx and Gordon are on as it sends its final transmission, and the screen fades to an ominous white as the Citadel explodes, destroying City 17, and causing a shockwave that overtakes the train. The last thing that the player hears is the twisting of metal and Alyx whispering Gordon's name. The screen then fades to the credits.
The plot continues from this point in Half-Life 2: Episode Two.
Trivia[]
- If the player kills the Strider at the end of the chapter before a certain point in the level, more Striders will appear.
- This is the last moment in the Half-Life series that the player sees Barney Calhoun.
External links[]
- Half-Life 2: Episode One - Game Guide and walkthrough on Gamepressure.com
| General | Timeline of the Half-Life universe |
|---|---|
| Half-Life story arc | Half-Life (Opposing Force • Blue Shift • Decay) |
| Half-Life 2 story arc | Original storyline • Half-Life 2 (Episode One • Episode Two) |
| Portal story arc | Portal • Portal 2 |
| Alyx Vance's story arc | Half-Life: Alyx |
- ↑ Question made from a fan directly to Marc Laidlaw, regarding the Episode 1 opening scene. Fan question, by e-mail.
- ↑ Marc Laidlaw's answer about what really happens in Episode 1 opening scene. Marc Laidlaw, by e-mail.
- ↑ Excluding Half-Life: Decay